X/Y Pad Module - LK Help

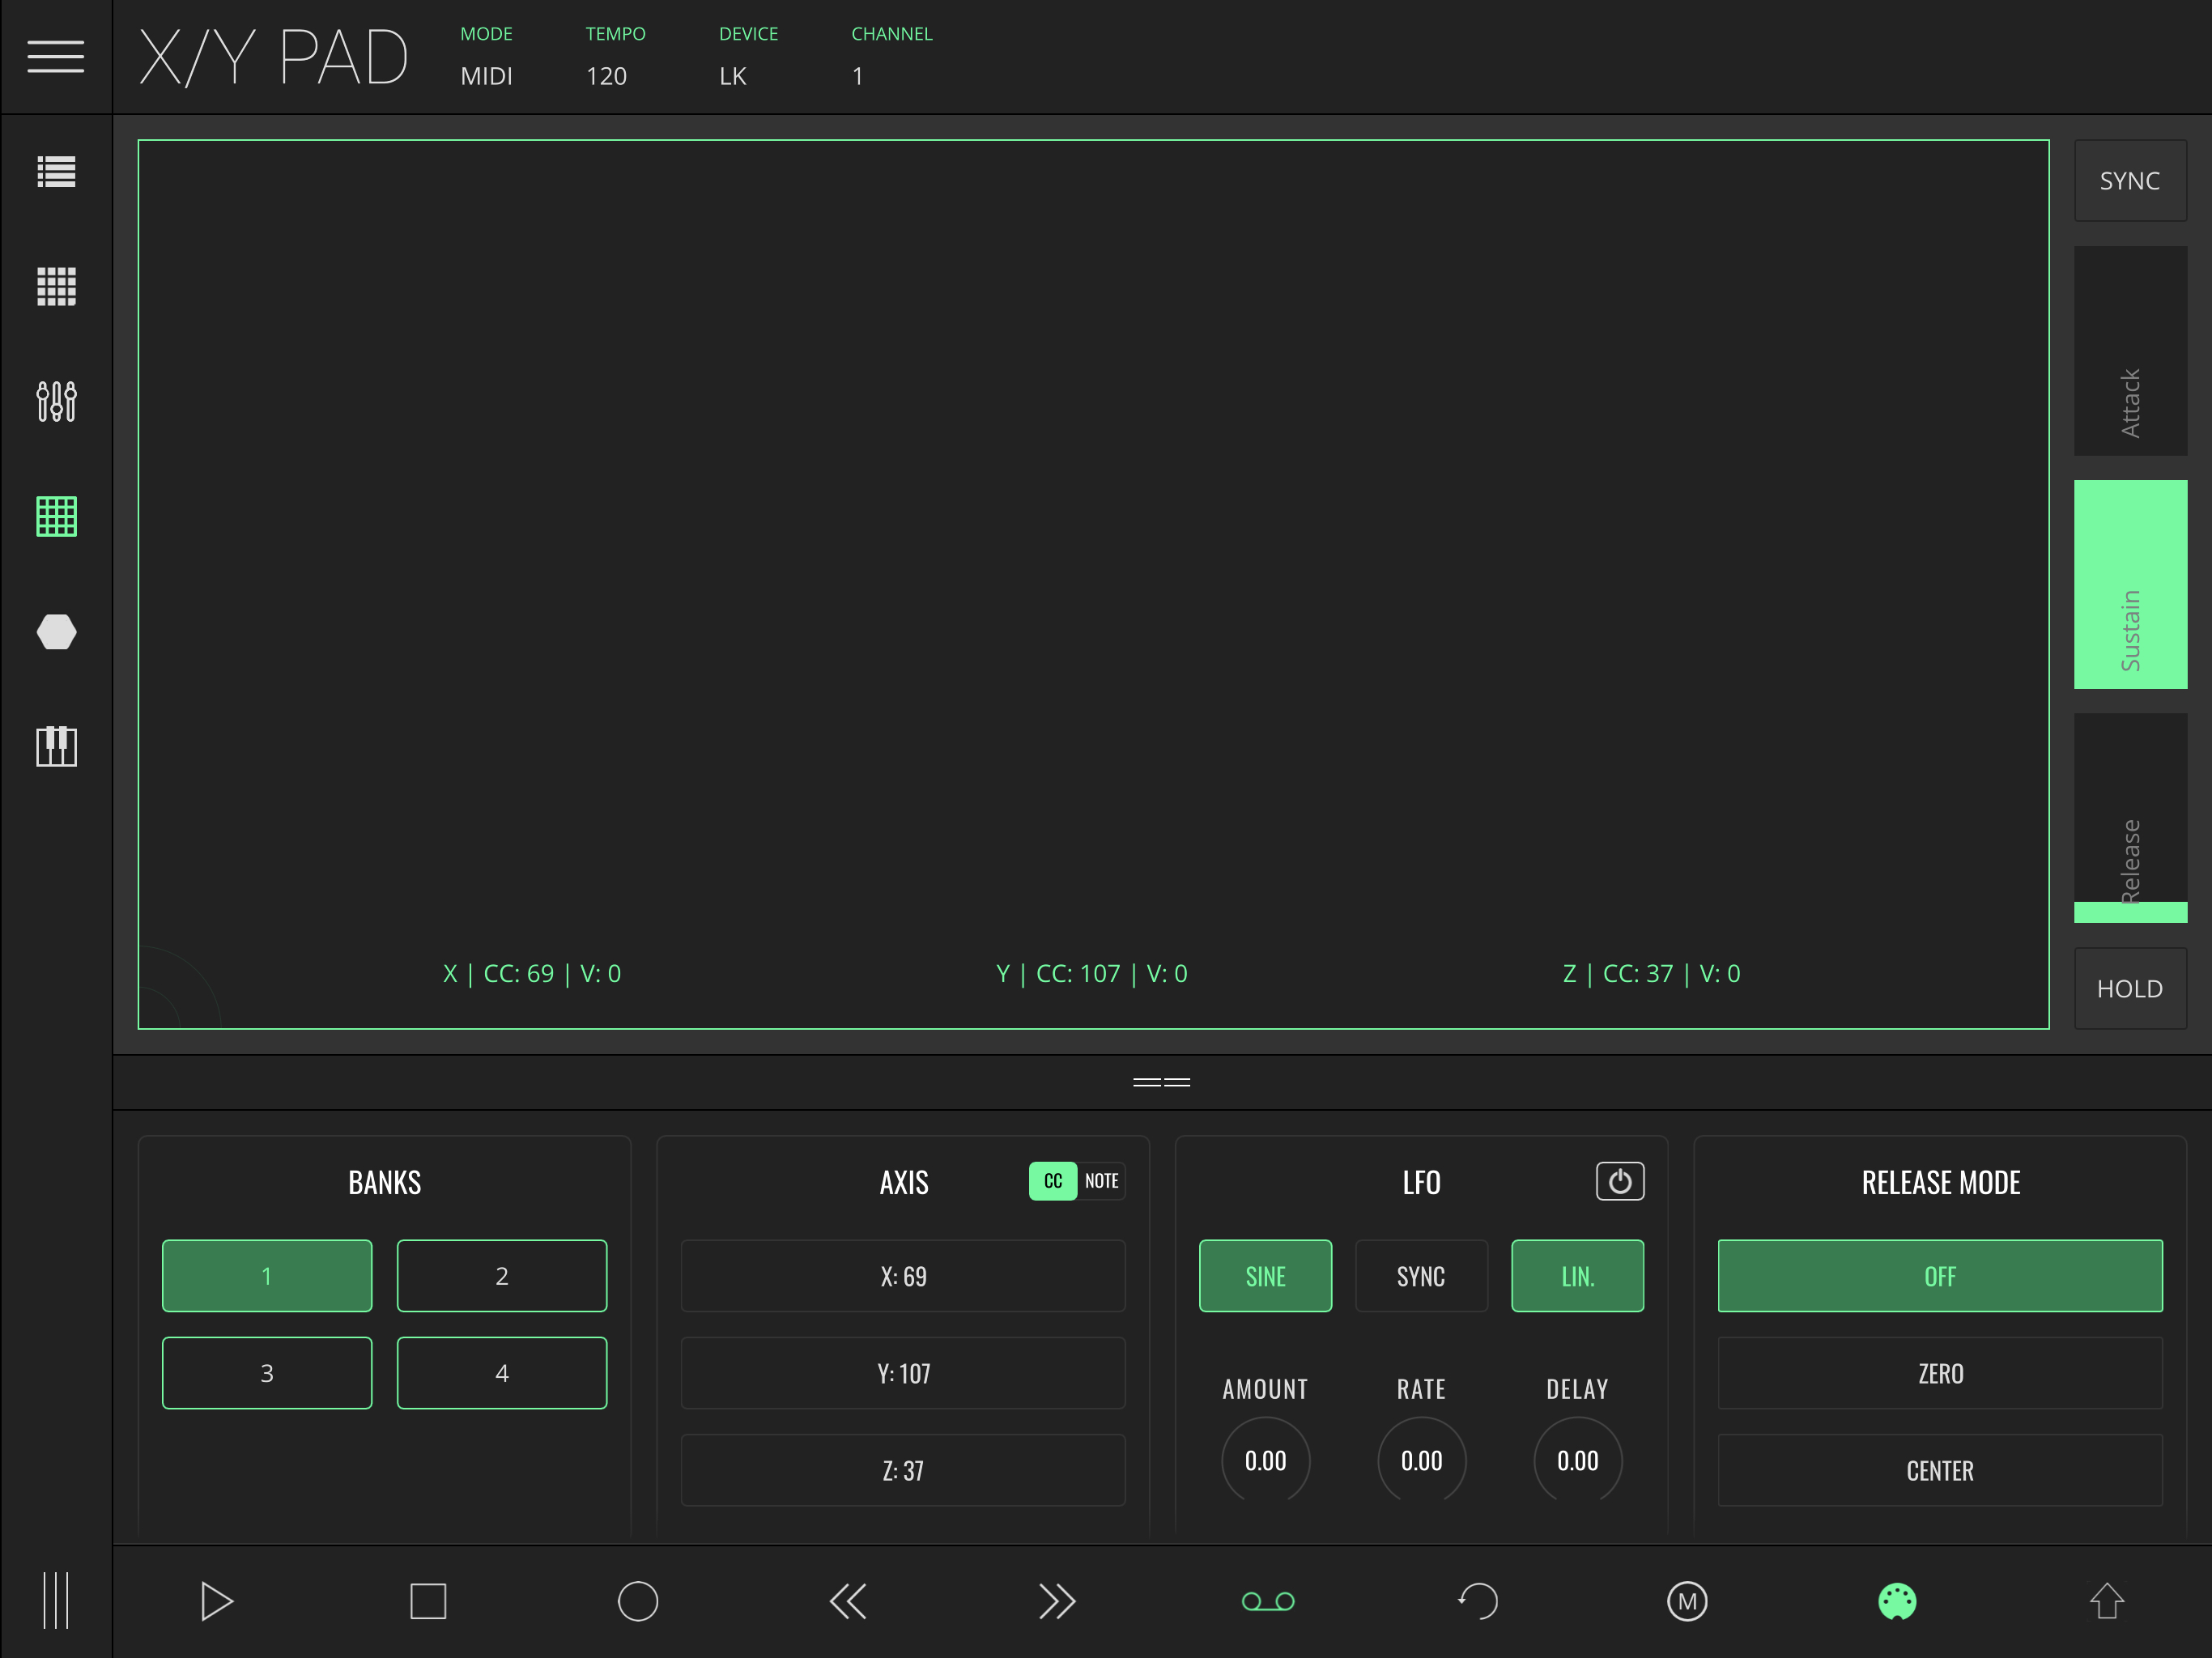
This module is composed of several screen controls for distinct modulation tools, including four banks, three mappable axis per bank, one ASR envelope generator for the Z axis with configurable release mode and an LFO for automated X/Y pad modulation.
The X/Y Pad section has two modes: the MIDI mode, that can be used to control MIDI (external hardware, apps, etc), and the Live mode, which can be used to control different parameters in Ableton Live. The mode can be toggled by tapping the mode name.
Note: These two modes can be used alternatively, each with different control assignments.
Depending on the mode selected, you will find different fields in the status bar, located at the top of the screen:
- MODE - toggles between LIVE and MIDI modes
- TEMPO - allows BPM adjustment for this section (LFO and Z axis ASR). In LIVE MODE this will only display the tempo of the Ableton Live’s session.
- DEVICE (MIDI MODE) - selects the output MIDI device
- CHANNEL (MIDI MODE) - chooses the MIDI output channel
The ASR envelope generator
The Z axis (touch on/touch off) features an ASR (Attack, Sustain, Release) envelope generator located on the right.
Attack defines the amount of time it will take to get to the Sustain level while Release will define how much time it will take to get back to the value defined on the RELEASE MODE existing on the menu opened by the drag-able bar (see below). The ASR unit is triggered as soon as you press the pad. Note: If nothing is assigned to the Z axis, then no meaningful behaviour will occur.
Two additional control functions are available: sync and hold. Sync allows the release time to be synced with the tempo while the hold function allows you to release the pad without triggering the release of the ASR.
Module settings
As in other LK modules, on the bottom of the screen there is a split view bar which allows the Inspector panel to be opened. This can be done by open by dragging the == icon, or tapping anywhere else inside the bar to instantly maximize/minimize. Inside are four columns of settings for the X/Y Pad:
- BANKS
- AXIS (with two modes: CC and Note)
- LFO
- RELEASE MODE
Banks
There are 4 selectable and configurable banks for the X/Y PAD. Just choose the one you want to work on, edit what you want and it is already saved on that bank.
AXIS
The X/Y PAD has two mode functions: CC and NOTE. The mode can be selected by pressing the button on the right of the “AXIS” label. That button will display the name of the current selected mode.
In CC mode, you can choose different cc values for each of the axis. The values related to each axis will be sent to the module’s MIDI channel and to the selected cc value.
In NOTE mode, you’ll be able to send note on/off information as output. In this mode, the X axis will represent the note’s pitch, the Y axis will represent the note’s velocity, and the Z axis represents the note on/off triggering.
LFO (Low Frequency Oscillator)
The integrated LFO unit provides you with additional modulation control on the X and Y axis. This unit has the following parameters:
- WAVEFORM - toggle between three different kinds of waveforms: Sine, Square and Saw.
- SYNC - synchronizes the oscillator frequency with tempo
- BEHAVIOUR - choose between horizontal, vertical or linear behaviour
- AMOUNT - defines the amount of modulation applied to the axis
- RATE - defines the frequency of the oscillator
- DELAY - defines the time LFO will take to start Note: the Z axis is not affected by the LFO.
RELEASE MODE
Release Mode allows the user to define the default position to which the X/Y cursor returns to. This means that whenever you release your finger from the pad, X and Y positions will tend to the point defined by the Release Mode with the release time defined by the ASR envelope generator settings. The X/Y could return to the centre, to the zero position (0,0) or stay where it was released.
Assigning a custom MIDI CC
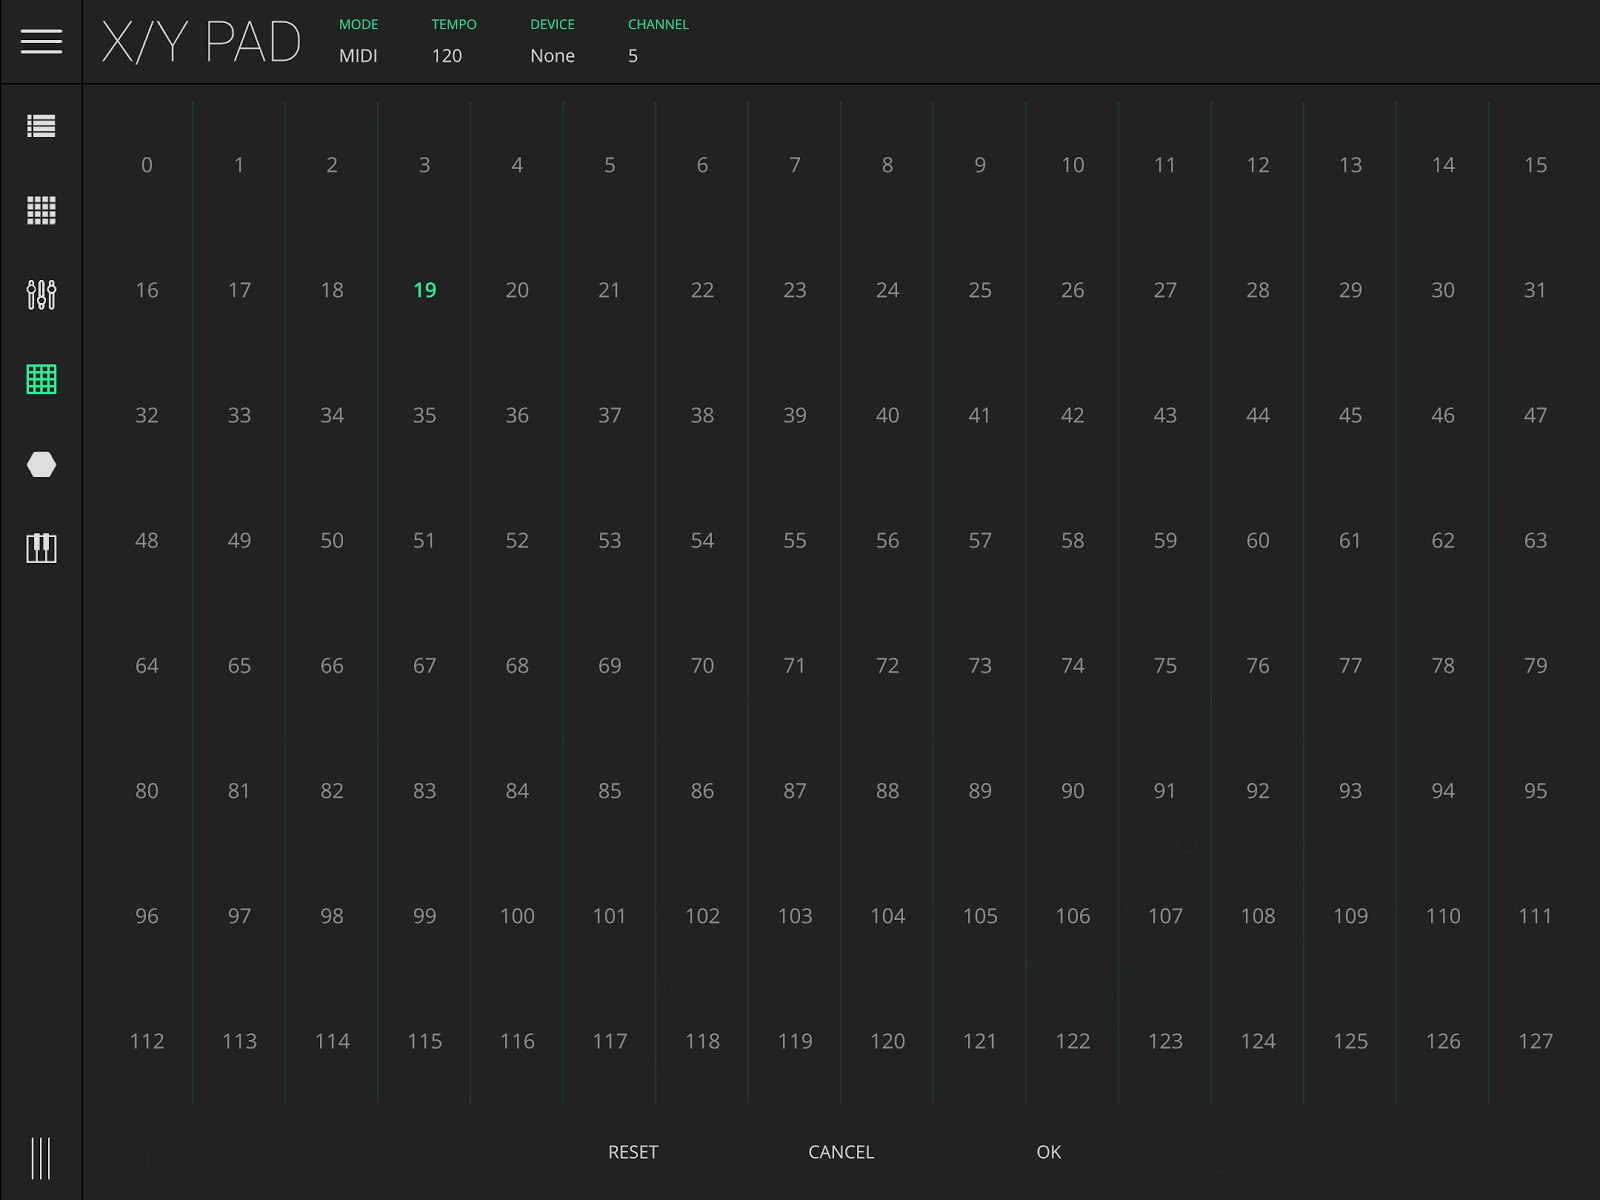
To customize the MIDI mapping (MIDI mode), from the settings view, select the axis you want to map by tapping the correspondent button; this will automatically show you a list of CC values. Tap on the number of the value you want to map and finally tap OK to confirm.

Assigning an Ableton Live Parameter
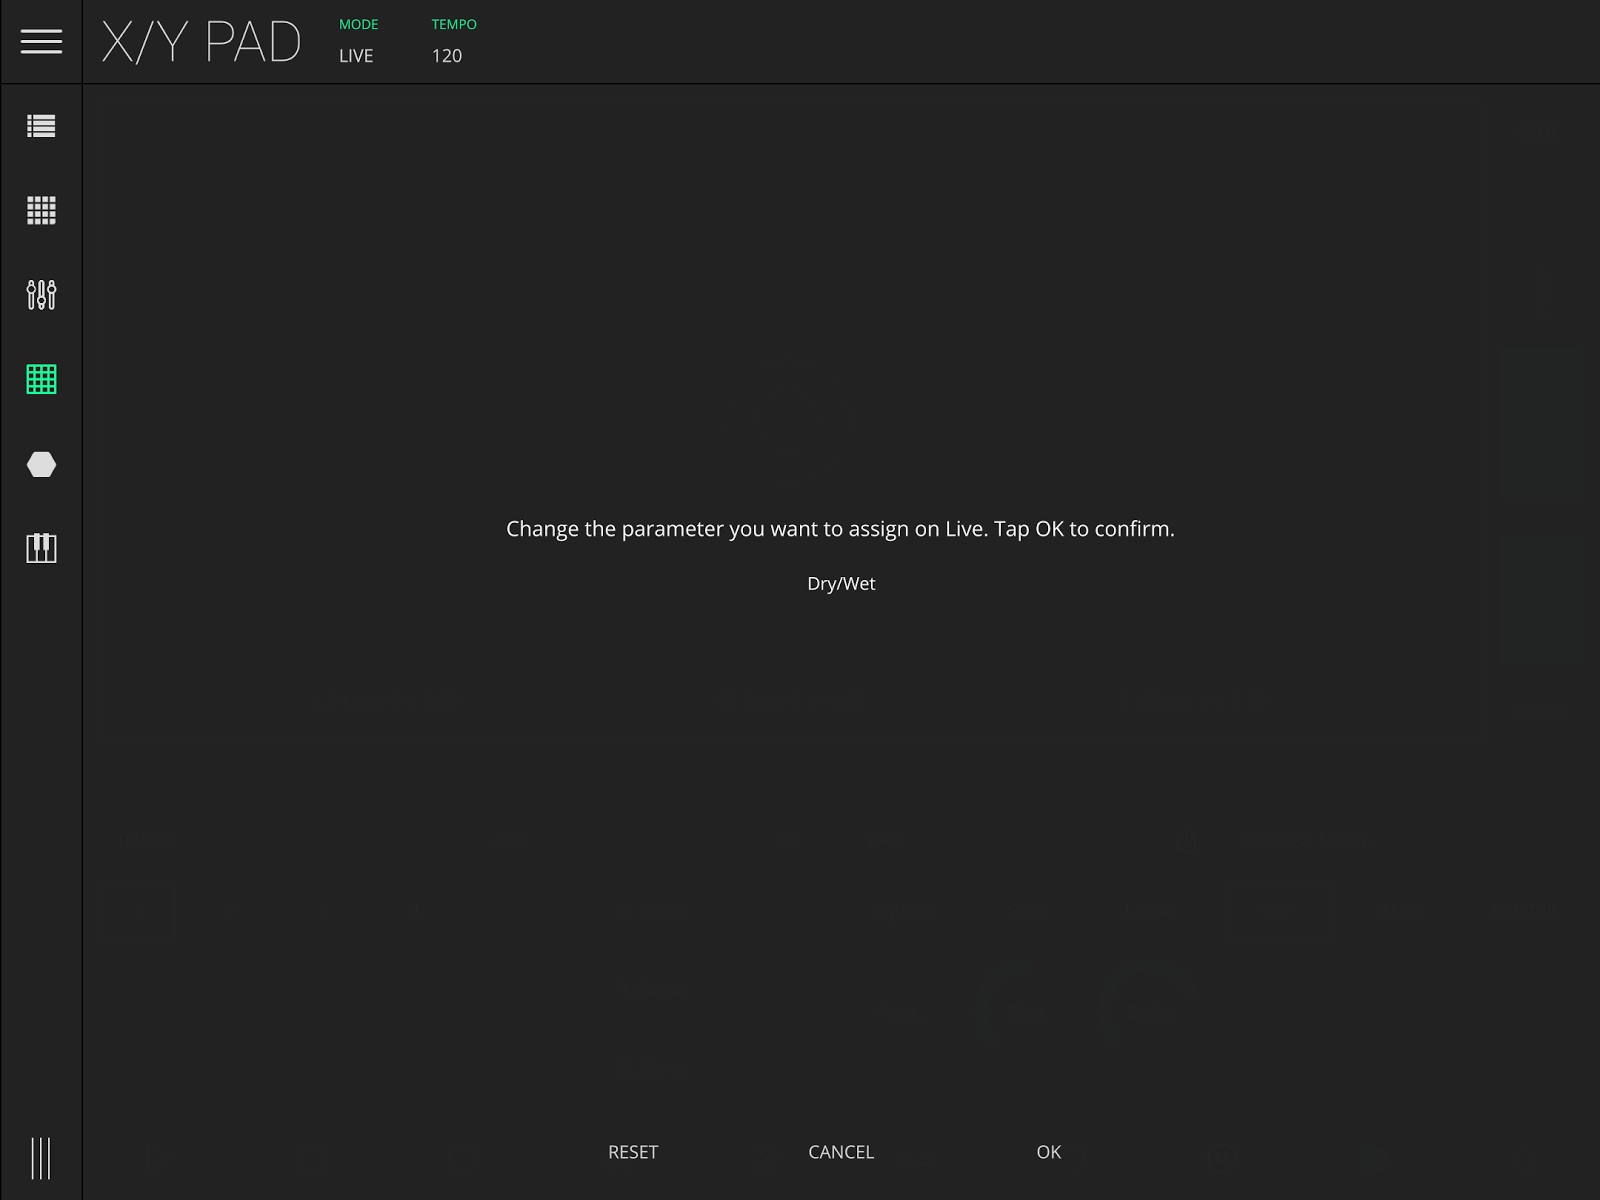
To customize the parameters (in Live mode), again, from the settings view, the AXIS you want to map by tapping its mapping button and changing the parameter you want to assign in Ableton Live or using the Matrix devices section. Press OK to confirm.
