TKFX Help - Decks Module
TKFX Decks module was designed to allow full control of Traktor's decks and mixer, allowing you to do a complete dj set with just TKFX running on your mobile device and Traktor running on your computer.

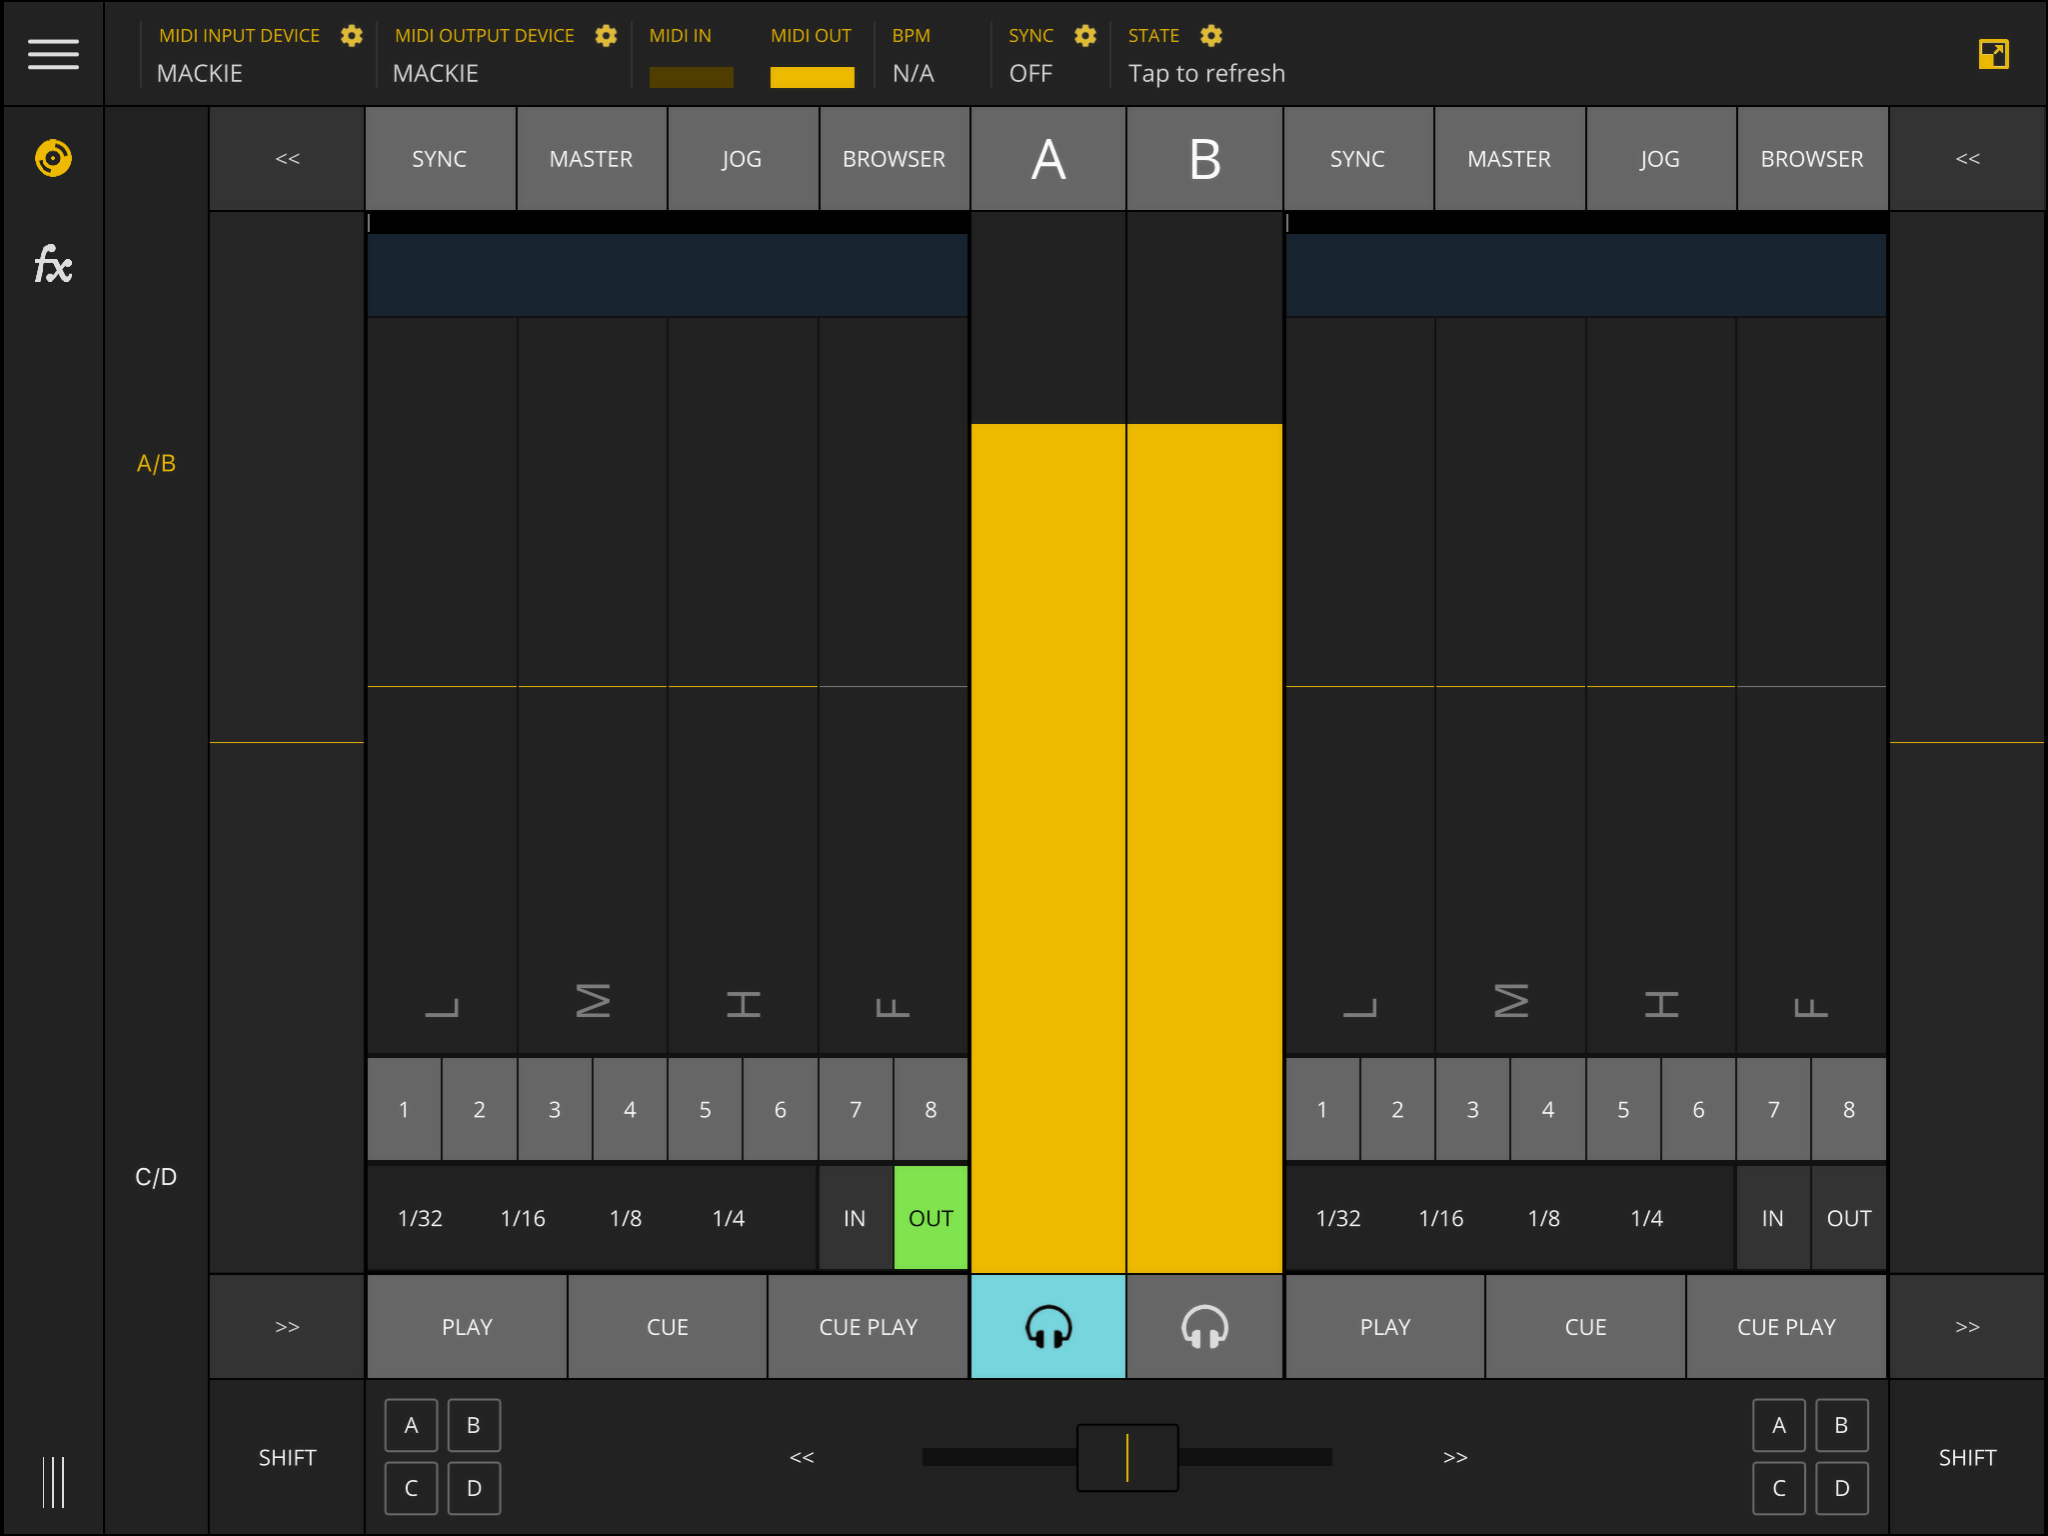
TKFX's Decks module can be composed of one, two, or four decks depending on the type of device you have.
On phone devices, due to screen size restrictions, only one deck can be seen at the same time. On tablet devices a screen mode icon is available at the top-right corner of the screen. This button toggles between single and multi deck modes.
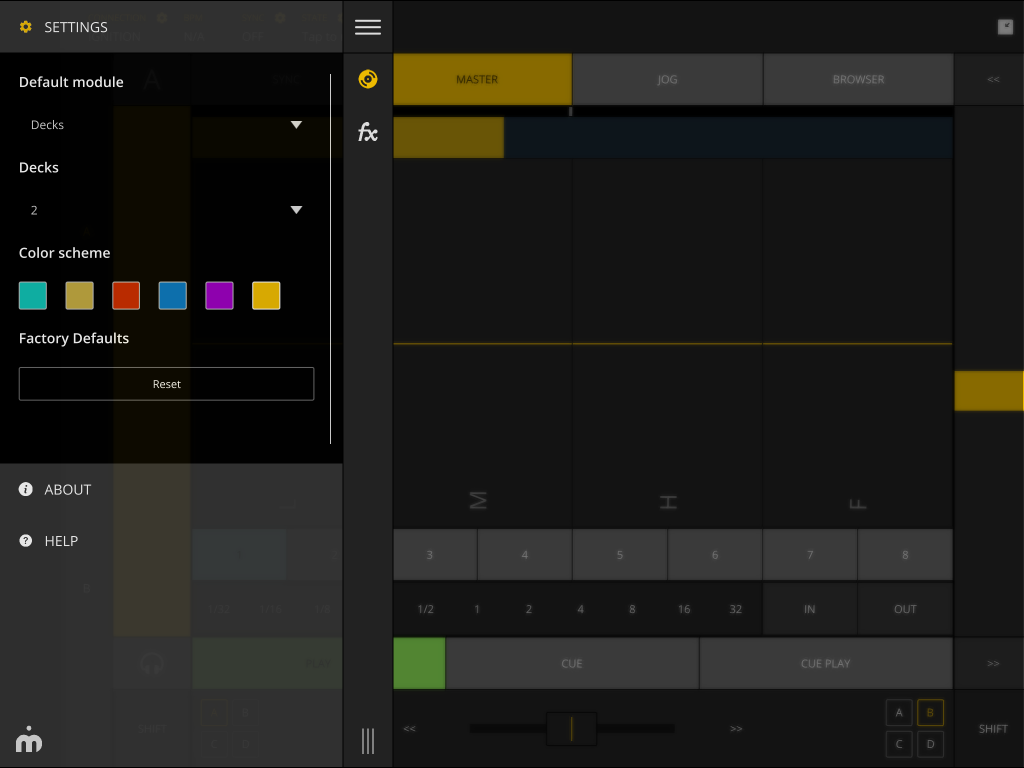
On multi deck mode, it will show two or four decks depending on the number of decks settings. By default multi decks mode shows two decks. You can change this under menu->settings->decks as it is illustrated below.

On the left side of the screen, there is a column where you can choose which decks are visible (A/B/C/D) or (A/B | C/D). This column disappears when TKFX is on four decks mode as it becomes useless (tablet devices only).
Below, on both sides we have the SHIFT button which provides alternate functionality for many TKFX buttons. Please refer below to know them in detail.
Deck Unit Overview
We will describe all the functions and controls on single unit perspective but it can be applied to all units as they have a shared behaviour.
At the right side of each unit we have the VOLUME slider. It becomes GAIN slider while SHIFT button is pressed.
Underneath it we have the cue button so we can listen what the deck is playing without sending it to master output. For this to work you need to have monitor properly configured under Traktor's audio settings.
On the top of each unit we have the following buttons:
-
SYNC - Enables Traktor's track SYNC function, making this deck's track have the same BPM's as the one chosen to be Master and adjusts it to the same phase sync as well.
-
MASTER - Selects the current deck as the master deck.
-
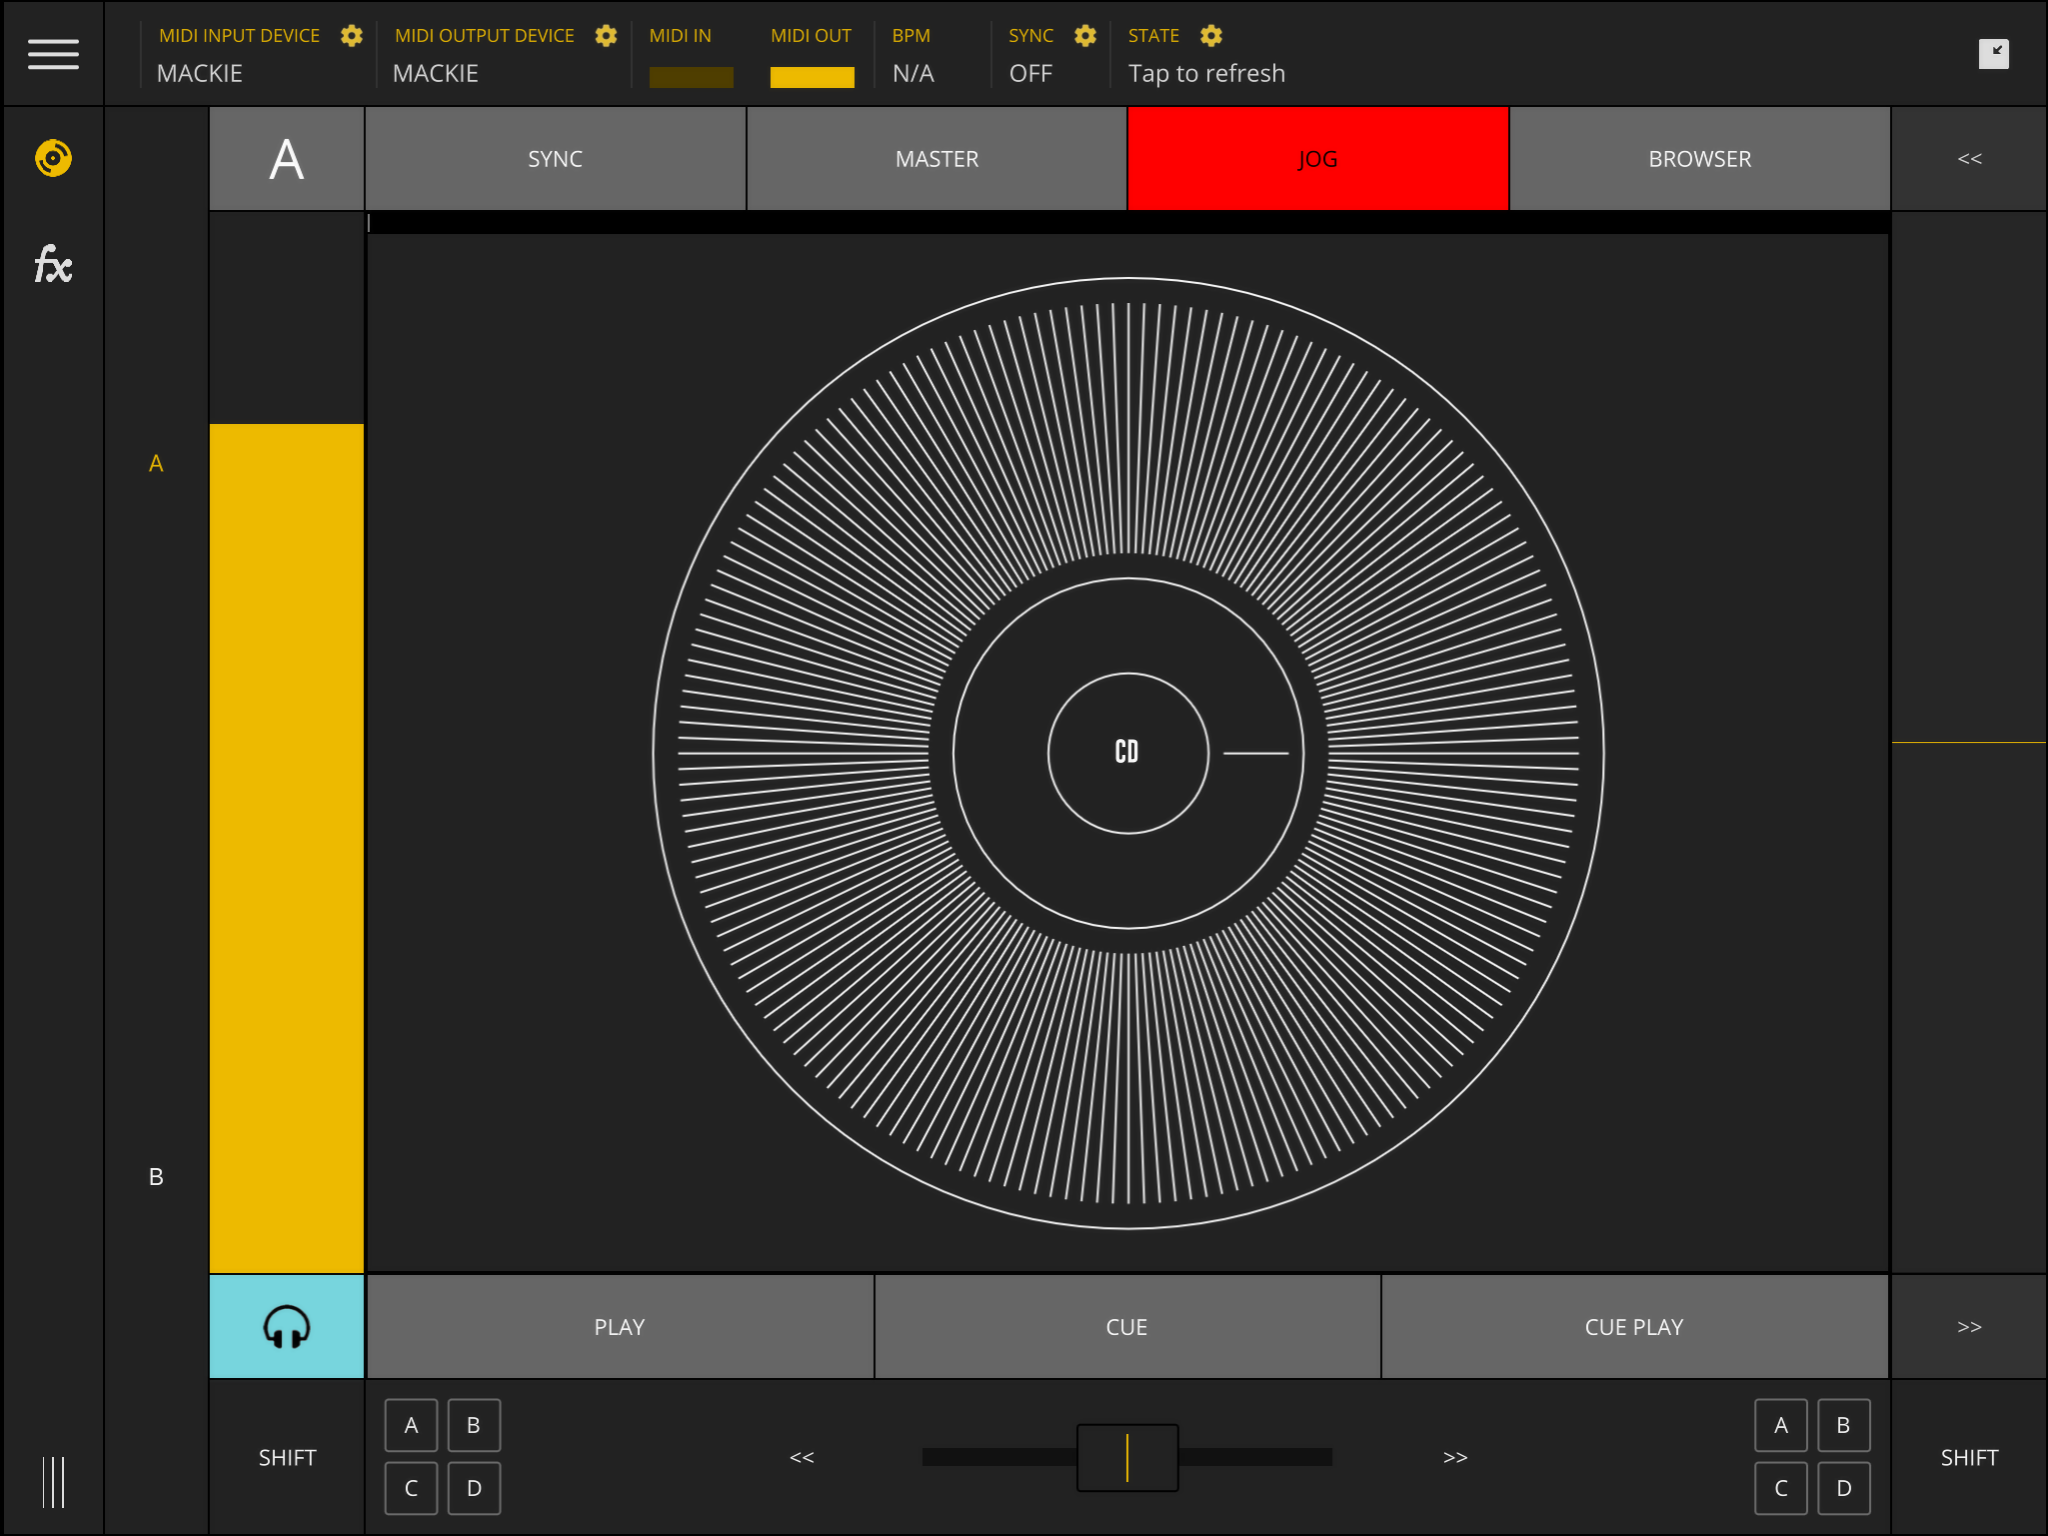
JOG - This button provides access to a jog dial which can be used to scan a paused track or to adjust the pitch of a track in play state. The mode can be switch from (CD to VINYL and vice-versa) by tapping the center of the jog dial.
-
BROWSER - selecting this button will expand the browser window in Traktor and provide control to navigate the browser as well as the ability to LOAD a track to the DECK of the current browser.
Right below this Deck's row of buttons we have got two additional rows. The upper one represents the phase sync of the current playing track in relation to the master track, the thicker represents the current deck's track position, which can be used to seek the tracks position by sliding the finger on it.

Equalization
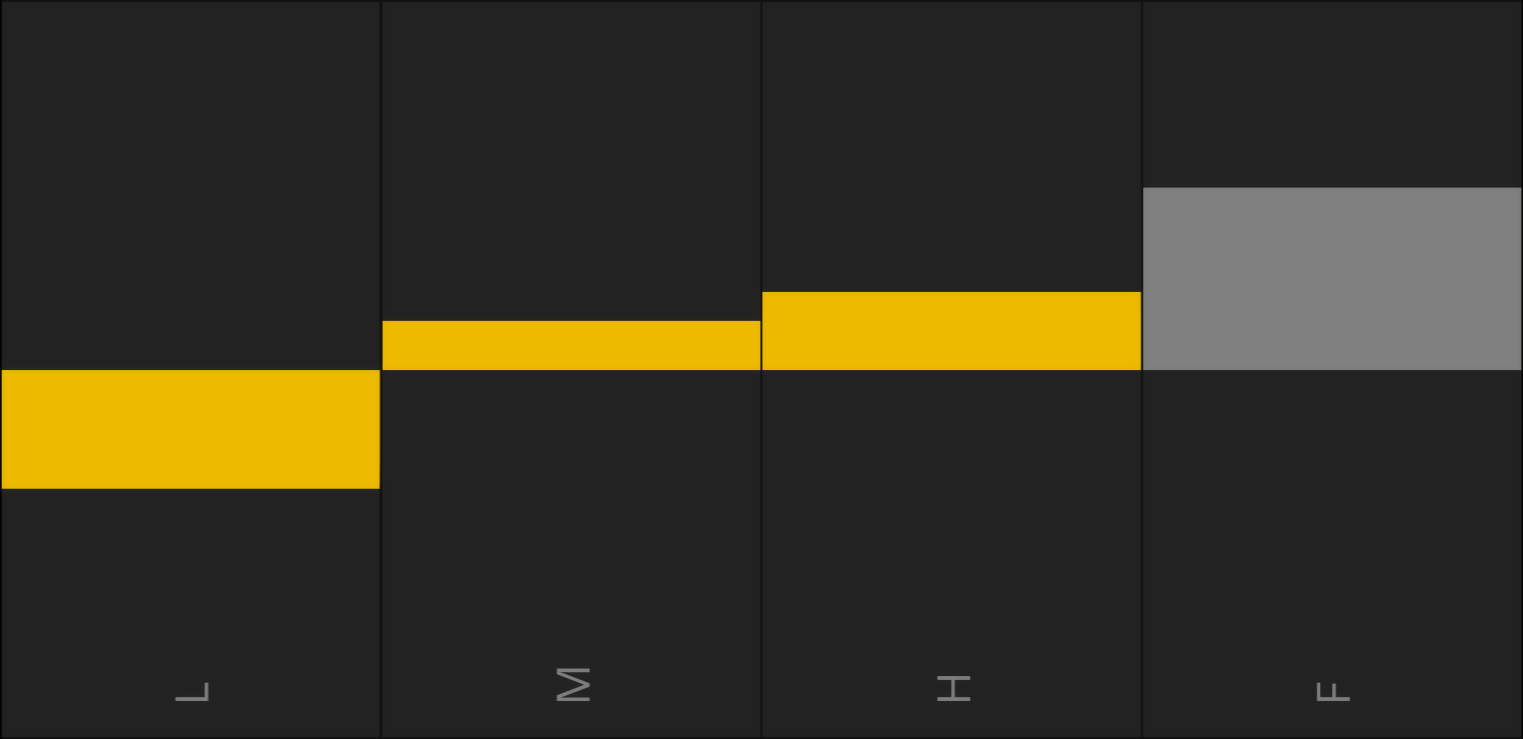
At the center of the unit we have got the EQ and FILTER section. From left to right you have LOW, MID, HIGH and FILTER controls represented. The controls are represented vertically where the bottom half is used to attenuate and the upper half is used to amplify. If you double tap this control it will reset to the center. You can also shift tap the control to kill/unkill the frequency in case of the EQ bands, and to enable/disable the FILTER.

Cue Points
Below the EQ section are the CUE POINTS buttons. In this section, creating, recalling and deleting CUE POINTS is easily done. When a particular CUE POINT button is pressed, one off three behaviours can occur:
- If that CUE POINT isn't yet set, pressing the button will now set it and it will become highlighted.
- If the CUE POINT is already set, then it is recalled, making that the current position of the track a playing it while it is pressed (much like with the CUE button).
- If the SHIFT button is pressed when you tap a highlight CUE POINT, it gets deleted.

Loops
Below the cue points section you will find the looper section. If you are in single unit mode, all the available loop intervals should be available without scrolling. Otherwise, the loops intervals area will be scrollable.
Activating a loop is simply achieved by tapping the desired loop interval. It will be marked active with a different color (green). To disable the loop, just tap again on the same interval. You can switch from one loop interval to another directly by tapping on the new loop interval or by dragging your finger. At the right side of the section you will find a IN and OUT controls:
-
IN - Set loop start point.
-
OUT - Set loop end point and triggers loop play. If loop play is already on then pressing OUT will disable the loop and the track will resume normal play.

Transport
At the bottom of the unit are located the transport controls section:
-
PLAY - plays the current selected track on current deck.
-
CUE - recalls song position to cue point or if in cue point plays the track while the CUE button is pressed.
-
CUE PLAY - the same behaviour as the CUE button but after release the track keeps on playing.

Global Controls
Under the transport control we have the CROSSFADER section. In this section, a set of four buttons (one for each deck located at each side) provides deck assignment to the crossfader. One or more decks can be assigned but the same deck can't be assigned to both sides.
At each side of the CROSSFADER slider are located buttons designed for "Punch In/Out". The "Punch In/Out" function works by changing instantly the position of the crossfader slider to the side of the button pressed. When the button is released, the crossfader slider will return to it's last position.
When shift is pressed, they become a "Cut & Paste" function which means that when you press the button, the crossfader is moved to the side of the button you pressed and it will stay there.

